How to replace damaged SEW gearbox bearings
The following are the general steps for replacing SEW gearbox bearings:
preparation
Stop the machine and cut off the power supply: Ensure that the gearbox has completely stopped running and cut off the power supply before performing maintenance operations to prevent accidental start-up.
Release internal pressure: If the gearbox is under pressure, it is necessary to first perform a pressure relief operation, such as opening the vent or oil drain hole.
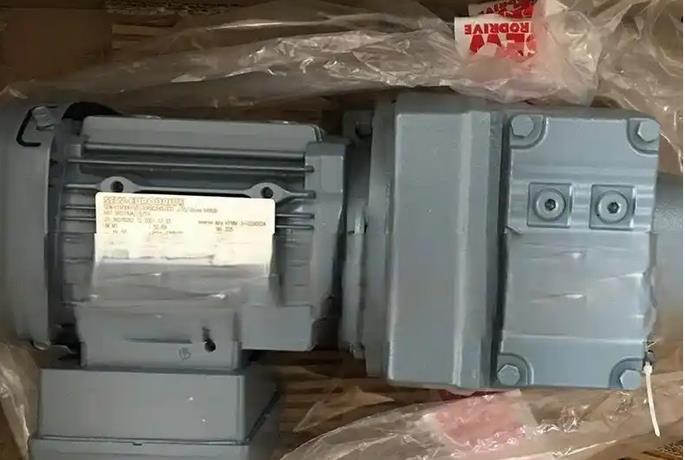
Prepare tools and materials: Prepare the necessary tools such as wrenches, pullers, jacks, vernier calipers, as well as new bearings, lubricants, seals, etc.
Cleaning work area: Clean the debris and dust around the reducer, keep the work area clean and tidy, and prevent impurities from entering the inside of the reducer during maintenance.
Disassemble the gearbox
Dismantle relevant connecting components: According to the disassembly procedures of the reducer, gradually remove the coupling, motor, gear shaft and other components connected to the reducer, and make marks for accurate installation in the future.
Dismantling the end cover and bolts of the gearbox: Use a suitable wrench to loosen and remove the end cover bolts on the gearbox, and then remove the end cover. Be careful not to damage the joint surface between the end cover and the casing during the disassembly process.
Remove the gear and shaft assembly: Carefully remove the gear and shaft assembly from the gearbox housing, paying attention to the installation position and direction of the gear and shaft, and making records. Some reducers may require the use of tools such as a puller to disassemble gears and shafts.
Dismantle damaged bearings
Determine the installation method of the bearing: Observe how the bearing is installed on the shaft. Common installation methods include interference fit, key connection, etc.
Using appropriate tools to disassemble bearings: For bearings with interference fit, it is usually necessary to use a puller or press to remove them from the shaft. If the bearing is installed at the shoulder of the shaft, it may be necessary to first remove the shoulder retaining ring or retaining spring and other fixing devices. During the disassembly process, it is important to avoid damaging the shaft surface and bearing seat holes.
Check the wear of the bearing seat hole and shaft: After removing the bearing, carefully inspect the surface of the bearing seat hole and shaft for any damage such as wear, scratches, deformation, etc. If any damage is found, it is necessary to repair or replace the relevant components to ensure the installation accuracy and operational reliability of the new bearings.