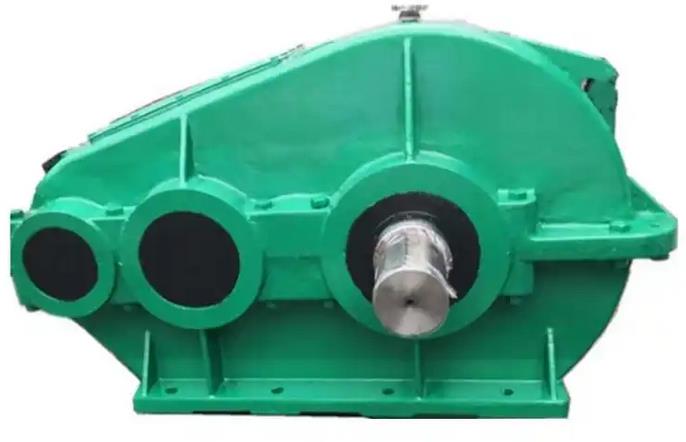
Introduce the installation process of the ZQ400-15.75-3 gear reducer heat sink with soft tooth surface
The following is the general installation process for the ZQ400 reducer heat sink:
preparation
Confirm the heat sink model: Ensure that the selected heat sink matches the size and installation requirements of the ZQ400 reducer.
Inspect components: Check for damage, deformation, or defects in the heat sink, and replace it promptly if there are any issues. Prepare the necessary tools for installation, such as wrenches, screwdrivers, bolts, etc.

Clean the surface: Use a clean cloth or solvent to clean the surface of the reducer housing and the installation area of the heat sink, remove oil stains, dust, and debris, to ensure good contact between the heat sink and the reducer housing and ensure heat dissipation effect.
Positioning and Marking
Determine installation position: Determine the installation position of the heat sink based on the structure and heat dissipation requirements of the reducer. Usually, heat sinks are installed on the side or top of the gearbox housing to facilitate heat dissipation.
Marking installation holes: Use measuring tools and marking tools to mark the position of the heat sink installation holes on the gearbox housing. Ensure accurate marking for subsequent drilling or tapping operations.
Installation hole machining (if required)
Drilling: If there are no pre machined installation holes on the gearbox housing, a drill bit needs to be used to drill holes according to the marked positions. When drilling, attention should be paid to controlling the speed and feed rate of the drill bit to avoid drilling too large or too small, which may affect the installation effect.
Tapping: For installation holes that require bolt installation, use a tap to tap so that the bolt can fit well with the hole wall during installation. During the tapping process, appropriate lubricants should be used to prevent damage to the tap and ensure thread quality.
Install heat sink
Place the heat sink: Align the heat sink with the mounting hole on the gearbox housing and gently place it on the surface of the housing. Ensure that the heat sink is tightly attached to the casing without any gaps.
Fixed heat sink: Use bolts or other fixing devices to secure the heat sink to the gearbox housing. When tightening bolts, it is necessary to follow a certain sequence and torque requirements to ensure that the heat sink is evenly stressed and firmly fixed. Generally speaking, some bolts should be tightened diagonally first, and then all bolts should be tightened in sequence to ensure a tight connection between the heat sink and the gearbox housing.
Inspection and adjustment
Check installation: After installation, check if the heat sink is securely installed and if the bolts are tightened. If there is any looseness, it should be tightened in a timely manner.
Check the contact between the heat sink and the casing: Use a feeler gauge or other tool to check the gap between the heat sink and the gearbox casing. If there is a large gap, the cause should be identified and adjusted to ensure good contact between the two, which is conducive to heat conduction.
When installing the ZQ400 reducer heat sink, it is necessary to strictly follow the above steps. If you are unfamiliar or unsure about the installation process, it is recommended to refer to the installation manual of the gearbox or consult professional technicians to ensure the installation quality and normal operation of the gearbox.

